

DIY Bath Bombs: Master the Art of Fizzy Fun with this simple DIY Recipe
DIY Bath Bombs: Creating an Oasis of Relaxation with an exotic fizzy experience
Are you ready to transform your bath time into a luxurious spa experience? Look no further! In this step-by-step guide, we'll walk you through creating your very own bath bombs. With just a few simple ingredients and a touch of creativity, you can customize these fizzy delights to suit your preferences. By incorporating carefully selected ingredients into your DIY Bath Bomb, you're not only indulging in a luxurious self-care ritual but also providing your skin with nourishment, hydration, and rejuvenation, resulting in a healthier, more radiant complexion with each use.
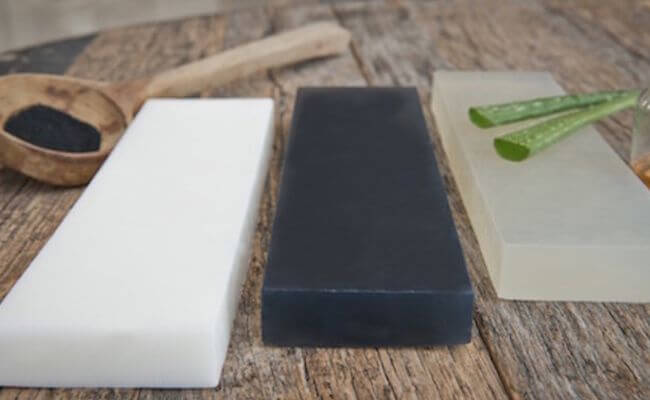
BENEFITS OF EACH OF THE INGREDIENT THAT MAKE A BATH BOMB
Let's delve into the benefits of these ingredients in crafting a DIY Bath Bomb, focusing on their skincare advantages:
-
Sodium Bicarbonate (Baking Soda):
- Acts as a gentle exfoliant, sloughing off dead skin cells to reveal smoother, softer skin beneath.
- Balances pH levels of the skin, helping to maintain its natural protective barrier.
- Soothes irritated skin and helps alleviate itching or discomfort, making it perfect for sensitive skin types.
-
Anhydrous Citric Acid:
- Brightens and tones the skin, promoting a more radiant complexion.
- Assists in unclogging pores and removing excess oil and dirt, reducing the likelihood of breakouts.
- Has astringent properties that help tighten and firm the skin, diminishing the appearance of fine lines and wrinkles.
- Soapy Twist Anhydrous Citric Acid is of superlative quality and helps you experience results instantly.
-
Corn Starch / Kaolin Clay:
- Corn starch helps to soothe and calm irritated skin, making it ideal for those with sensitive or inflamed skin conditions.
- Kaolin clay gently detoxifies the skin by drawing out impurities and excess oils without stripping away natural oils, leaving the skin feeling clean and refreshed.
- Both ingredients provide a silky, smooth texture to the bath bomb, enhancing its luxurious feel on the skin.
-
Castor Oil / Almond Oil / Coconut Oil:
- Castor oil is deeply hydrating and helps to lock in moisture, leaving the skin feeling soft and supple.
- Almond oil is rich in vitamins A and E, which nourish and repair the skin, promoting a youthful glow.
- Coconut oil is antimicrobial and anti-inflammatory, making it excellent for soothing and treating various skin conditions such as eczema or acne.
-
Fragrance Oil / Essential Oil:
- Fragrance oils add a delightful aroma to the bath bomb, enhancing the overall sensory experience.
- Essential oils not only impart a pleasing scent but also offer various therapeutic benefits depending on the oil chosen, such as relaxation (lavender), rejuvenation (citrus), or stress relief (eucalyptus).
- Certain essential oils possess skin-loving properties, like tea tree oil for its antibacterial benefits or rosehip oil for its anti-aging properties, further enhancing the skincare benefits of the bath bomb.
Let's dive right into this easy-to-follow recipe and give ourselves and our loved ones an exotic spa-like experience!
DIY RECIPE
INGREDIENTS:
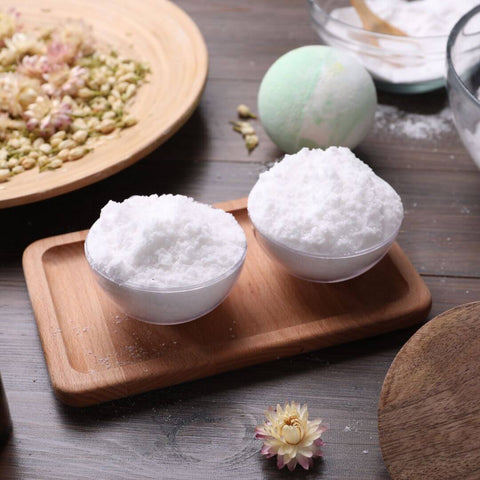
60 grams, Sodium Bicarbonate (baking soda)
30 grams, Anhydrous Citric Acid
6 grams, Corn Starch / Kaolin Clay
3 grams, Castor oil / Almond oil / Coconut oil
1 gram Fragrance oil / Essential oil of your choice
Organic Witch Hazel (For Misting)
EQUIPMENT:
Mixing bowl / Beaker
Whisk or spoon
METHOD
Steps 1
In a sanitized mixing bowl, beaker weigh and add 60 grams of Baking Soda
Step 2
Furthermore, weigh and add 30 grams of Anhydrous Citric Acid
Step 3
Weigh and add 6 grams of corn-starch and mix all the dry ingredients well.
Step 4
To the dry mix drizzle 3 grams of your choice of Carrier oil. Mix till the oil is incorporated fully.
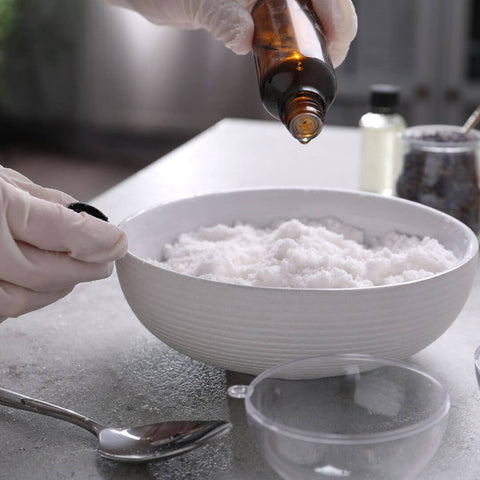
Step 5
Additionally, add 1 gram of your choice of Essential Oil / Fragrance Oil and mix till the oil is infused fully.
Step 6
Spray in some witch hazel so the entire mixture comes together in a dry crumbly dough-like consistency.
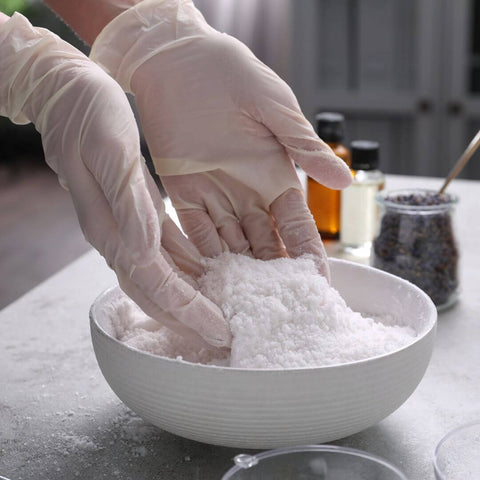
Step 7
Using your hands or a spoon, mix the ingredients until you achieve a uniform consistency. The mixture should hold its shape when squeezed together but still feel slightly crumbly.
Step 8
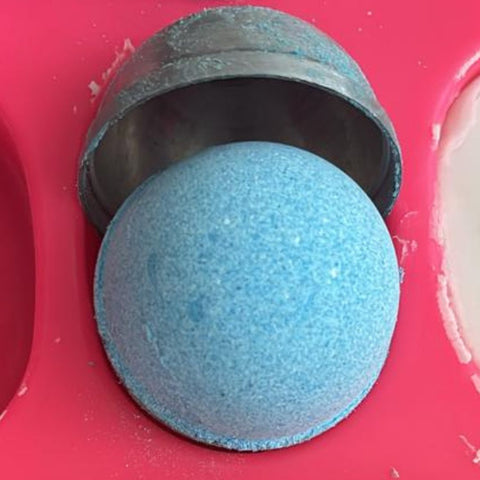
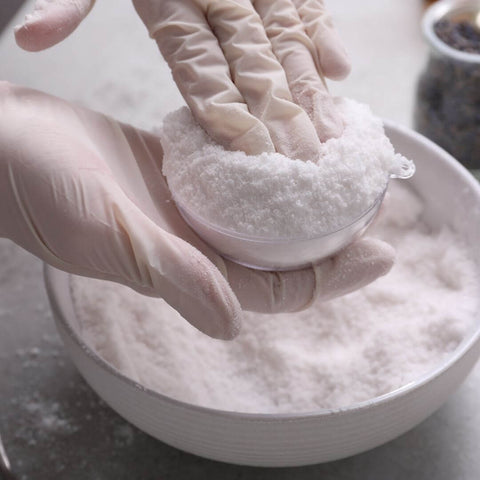
Fill the First half of your bath bomb molds with the mixture, packing it down firmly to ensure a compact shape.
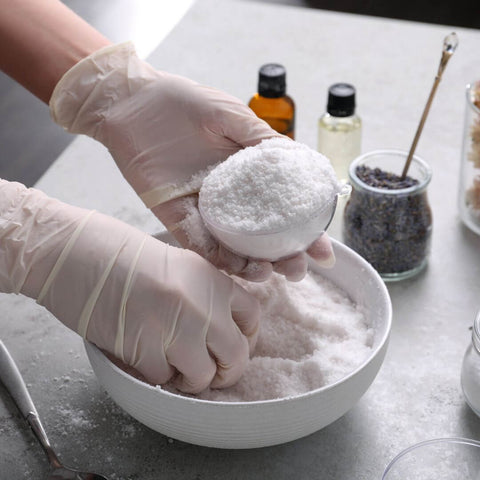
Step 9
Now fill the second half of the mold similarly. You can overfill slightly as shown in the picture.
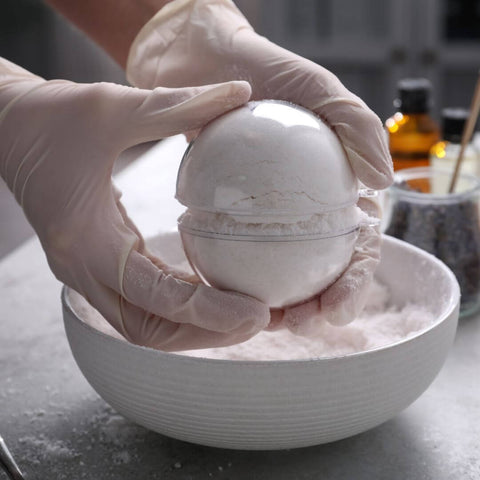
Step 10.
Bring the two halves together and press them firmly.
Step 11.
Allow your bath bombs to set in the mold fully. Carefully remove the bath bomb from the mold. Gently tap the top and sides of the mold with a spoon to release the bath bomb from the mold.
Step 12.
Leave the bath bombs to dry for 24 hours. Placing them in a cool, dry place will help expedite the drying process. Avoid handling them too much during this time to prevent crumbling.
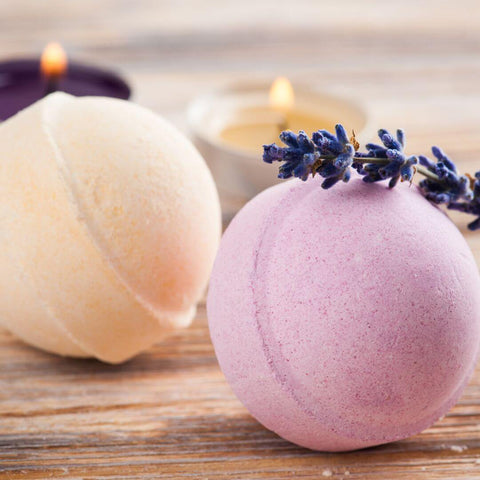
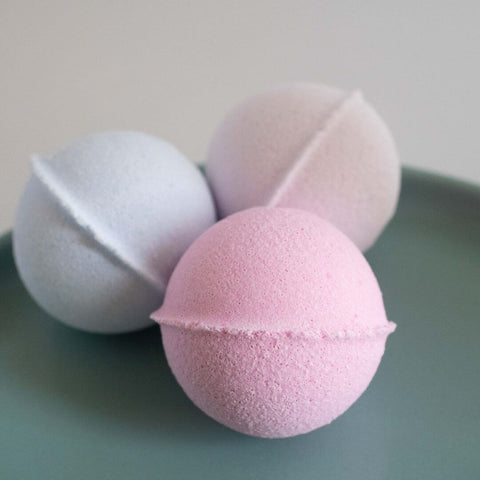
Your homemade bath bombs are now ready to use!
HOW TO USE A DIY BATH BOMB?
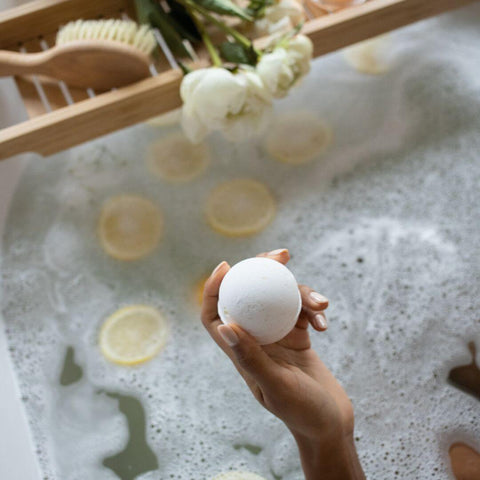
To use your DIY bath bombs, simply drop one into a warm bath and watch it fizz and dissolve, releasing its delightful fragrance and nourishing oils into the water. Sit back, relax, and enjoy a luxurious spa-like experience in the comfort of your own home.
CUSTOMIZATION TIPS
- Experiment with different essential oils and fragrances to create unique combinations tailored to your preferences.
- Add dried herbs or flower petals to your bath bombs for added visual appeal and aromatherapy benefits.
- Get creative with shapes and colors by using different molds and natural coloring agents like beetroot powder or spirulina.
- Replace Corn Starch with Kaolin Clay for additional benefits
CONCLUSION

Now that you've unlocked the secrets to crafting your luxurious bath bombs, it's time to dive in and elevate your bathing rituals to new heights. Imagine sinking into a tub filled with aromatic bliss, surrounded by fizzing bubbles and skin-nourishing oils—pure indulgence at your fingertips.
So why wait? Gather your ingredients, unleash your creativity, and let your imagination soar as you experiment with different scents, shapes, and colors. Whether you are seeking relaxation, rejuvenation, or simply a moment of self-care, these DIY bath bombs are your ticket to blissful tranquility. Transform your bath time into a spa-like retreat and pamper yourself like never before. Your relaxation oasis awaits—dive in today!
Leave a comment
This site is protected by reCAPTCHA and the Google Privacy Policy and Terms of Service apply.