


Important Tips for making Layered Soaps

- Decide the colors of your layered soaps. Always use nonbleeding colors. Food colors are a complete no no. The best choice are Mica Powders.
- For a three-layered soap – use 200 gm of soap base for each layer of soap
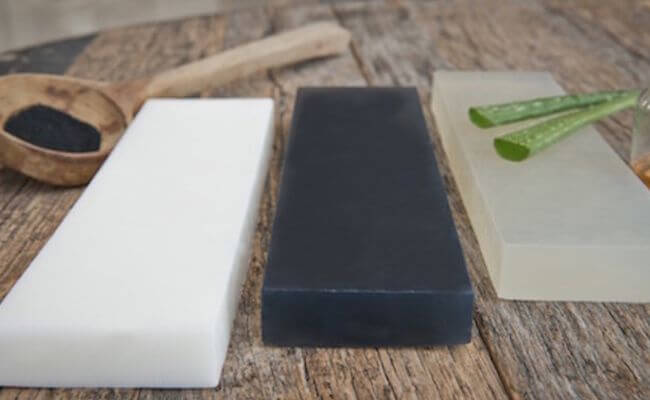
- Alternate the layers with transparent soap base and opaque soap base.
- Melt the first layer of transparent soap base, add the perfume and color, and set it in the soap base.
- Remove all surface bubbles by spraying rubbing alcohol and let the first layer check.
- Melt the second layer of white soap base (goat milk/shea butter/castile/ultra-white) & add a different color to it with same fragrance.
- Blow on the first layer of soap to see if its still rippling. If so, wait to pour the second layer. Ensure that a thick skin is formed in first layer before you pour the second layer.
- Time and temperature are the key factors in layered soap.
- Work with time at hand and make sure the pour temperature of the second layer is down to 50° - 53° celsius (125°-130°F)
- Repeat the procedure with third layer – transparent, with same fragrance but different color & pour it above the second layer once its set.
- You may use an inverted spoon over which you gradually pour the melted soap for effective layering.
- Let your layered soap cool completely, do not refrigerate or it may separate the layers once it cools.
- De-mould it & cut it in desired sizes.
How to prevent your Layered soap from separating?
1. By simply spraying Iso Propyl alcohol on the cooling layer, before pouring the next layer of soap. The rubbing alcohol helps glue the two layers together.
2. Allow your previous layer to cool completely before pouring the next layer and make sure that your layered soap is fully set before demolding.
3. It's best to use a sharp soap cutter for neat and even cuts in your loaf of soap. However, if you must use a knife, do so skillfully ensuring it's a sharp knife.
4. Cut the soap loaf on its side against the layers, rather than top-down through the layers. This helps the layer bind together in an opposite direction, further ensuring that they remain together.
Leave a comment
This site is protected by reCAPTCHA and the Google Privacy Policy and Terms of Service apply.